

Making a Convertible Leather Bag

Get some modern leather bag inspiration and an insider's peek inside the creation of the Mini Crossback from Julie Simon, owner and founder of Moss Bags. This beautiful minimalist leather bag easily converts from a crossbody to a backpack, making it a versatile leather project that's perfect for gift giving or keeping all to yourself!
Julie selected beautiful leather and tools from Weaver Leather Supply and brass hardware from Ohio Travel Bag for this DIY leather bag project. Take a look and find inspiration to embark on customizing a bag all your own!

Mini Crossback Project Supplies:

1. Frontier Pull-Up Leather, Brown, 5-6 oz. - Beautiful oil tanned pull-up leather offers the perfect combination of rustic good looks and a supple feel. You'll love how easy this leather is to flip after your sewing is completed.
2. Water Buffalo Belt Blank, Black, 8-9 oz. - Perfect for use as bag straps, these belt blanks have beveled edges and are ready-to-go.
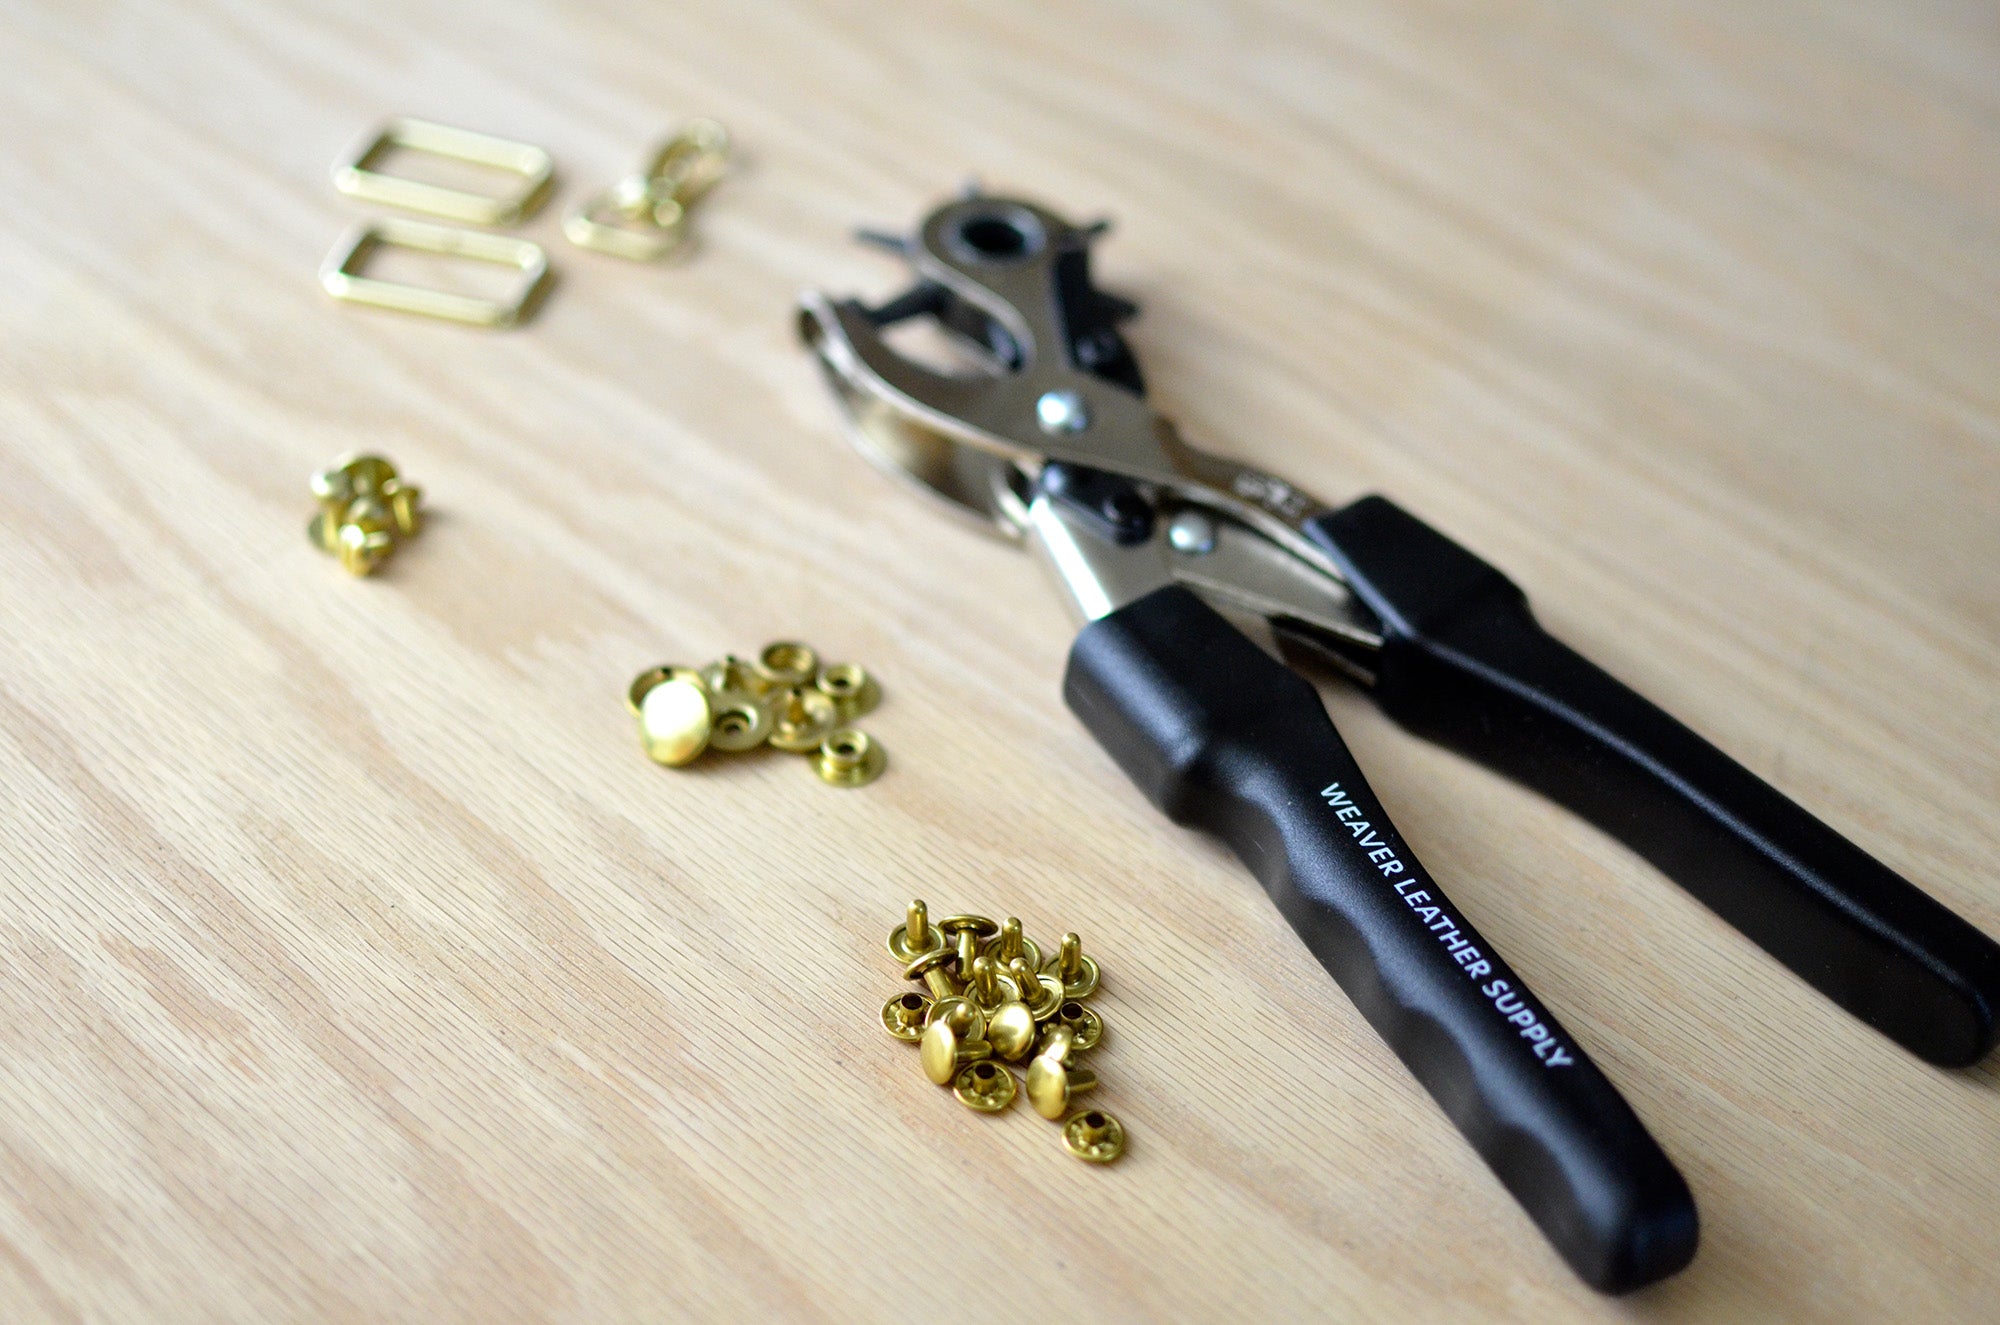
3. Heritage® Compound Action Revolving Punch - Cuts clean, precise holes with 70% more power than your typical revolving punch.
4. Double Cap Rivets, Solid Brass - In gleaming solid brass, these rivets have a finished look on both sides for refined, modern style.
Steps
1. Getting Ready to Make Your Own Bag
Leather Pieces You'll Need:
- Mini Crossback is crafted from one piece of leather: 12" x 24"
- Open interior pocket: 7" x 6"
- Key-clip sting: 3/4" x 7"
- Strap attachments: 2" x 4"

2. Applying Fiebing's Leather Cement
Apply a thin line of Fiebing's Leather Cement on the seam allowance of your pocket and place on bag. This high-performing formula is quick drying and easy to use.

3. Sewing the Inside Pocket
After the cement has had time to set, you're ready to sew your pocket.

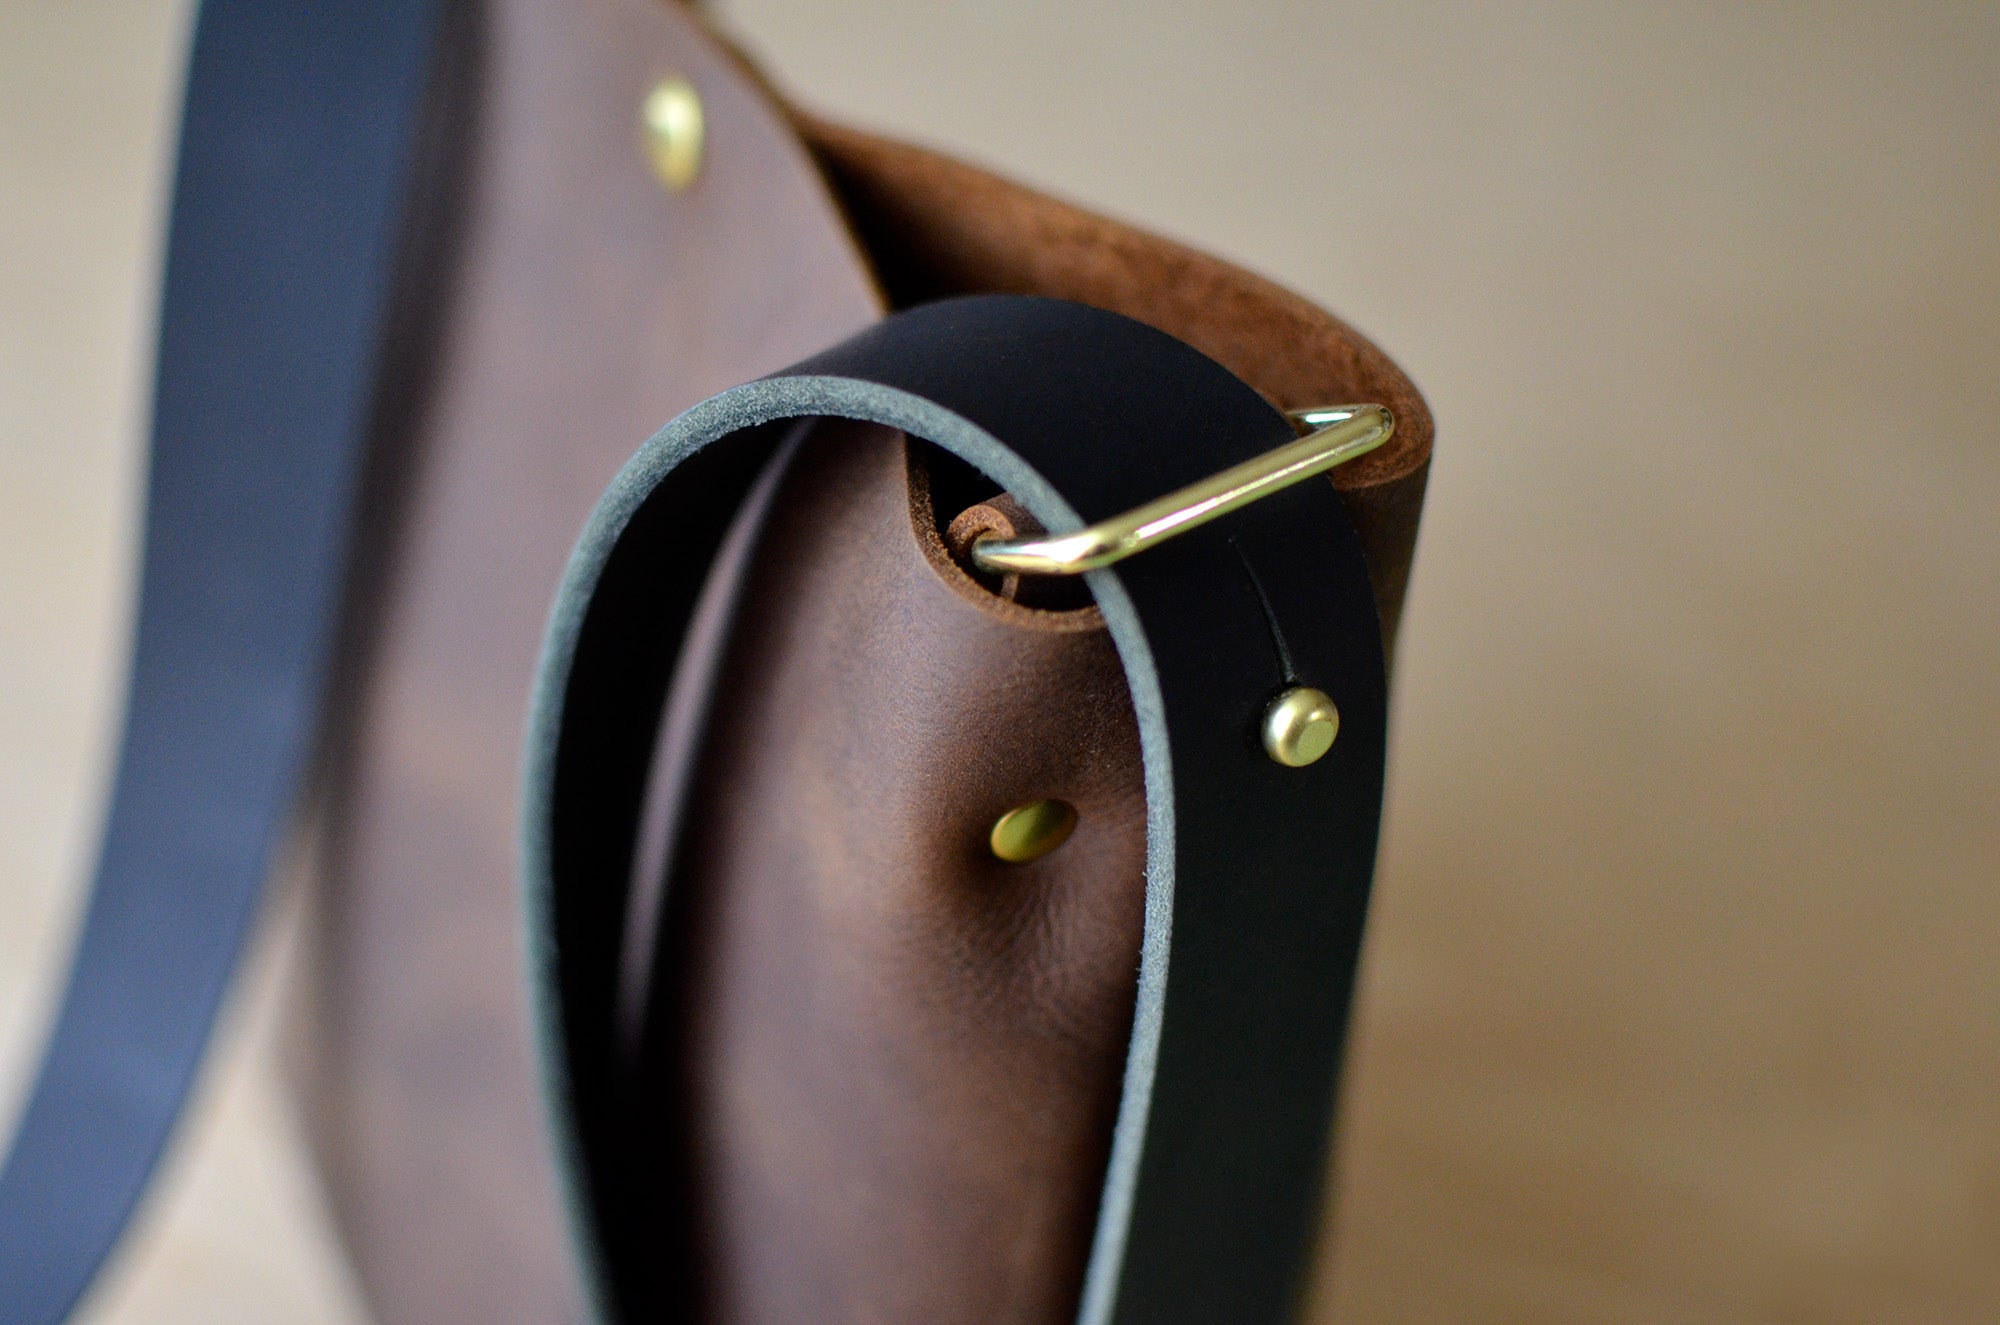
4. Adding Button Studs
Use the Button Hole Punch to punch holes for the addition of Button Studs to elevate your leather bag project. A Button Stud has been added to both sides of the bag for connecting the bag's strap. This allows the bag to hold its shape when in crossbody mode.

5. Finishing Your Bag in Style
You'll complete your Mini Crossback bag project with a Snap Closure at the top and Split Rectangular Rings on the strap attachments.
Your Finished Mini Crossback is Ready to Enjoy!

From simple card holders to more elaborate bags, you'll discover a full line of Weaver Leather Supply and Ohio Travel Bag products to create modern leather goods that will fuel your creative spirit.